Thursday, May 24, 2012

Storage chaise lounge


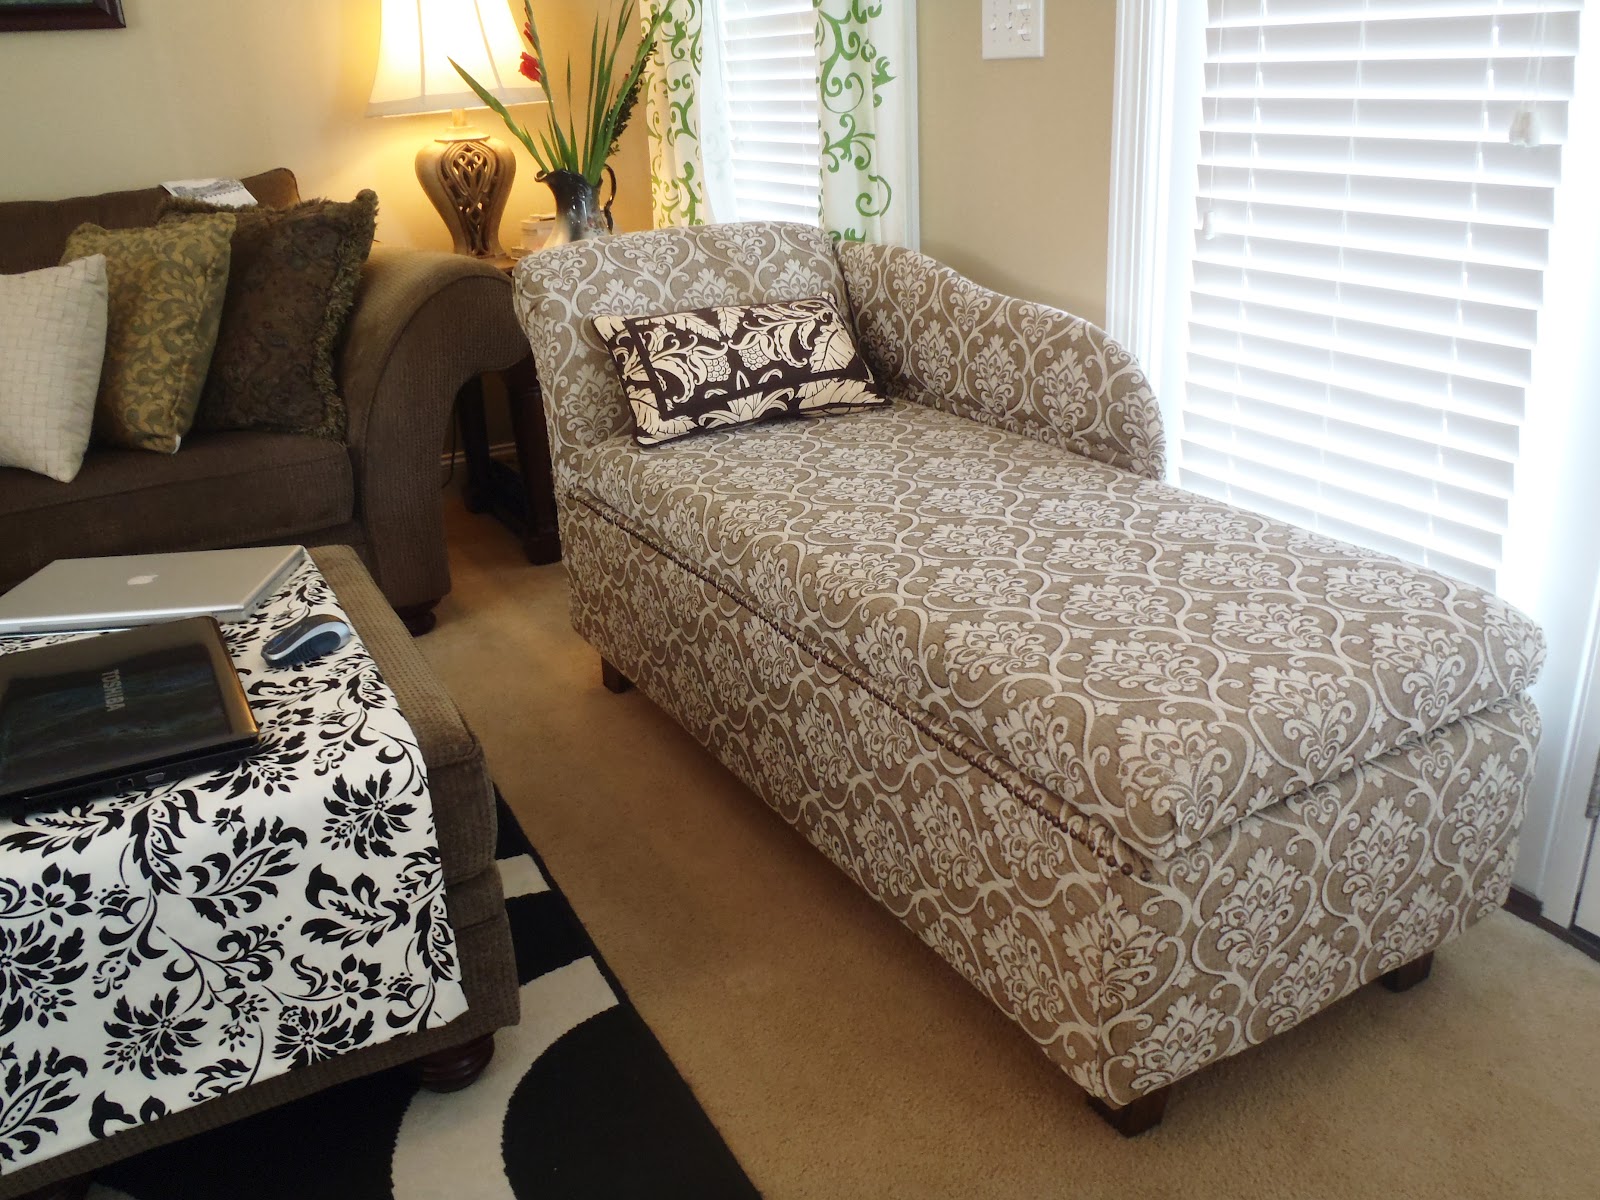
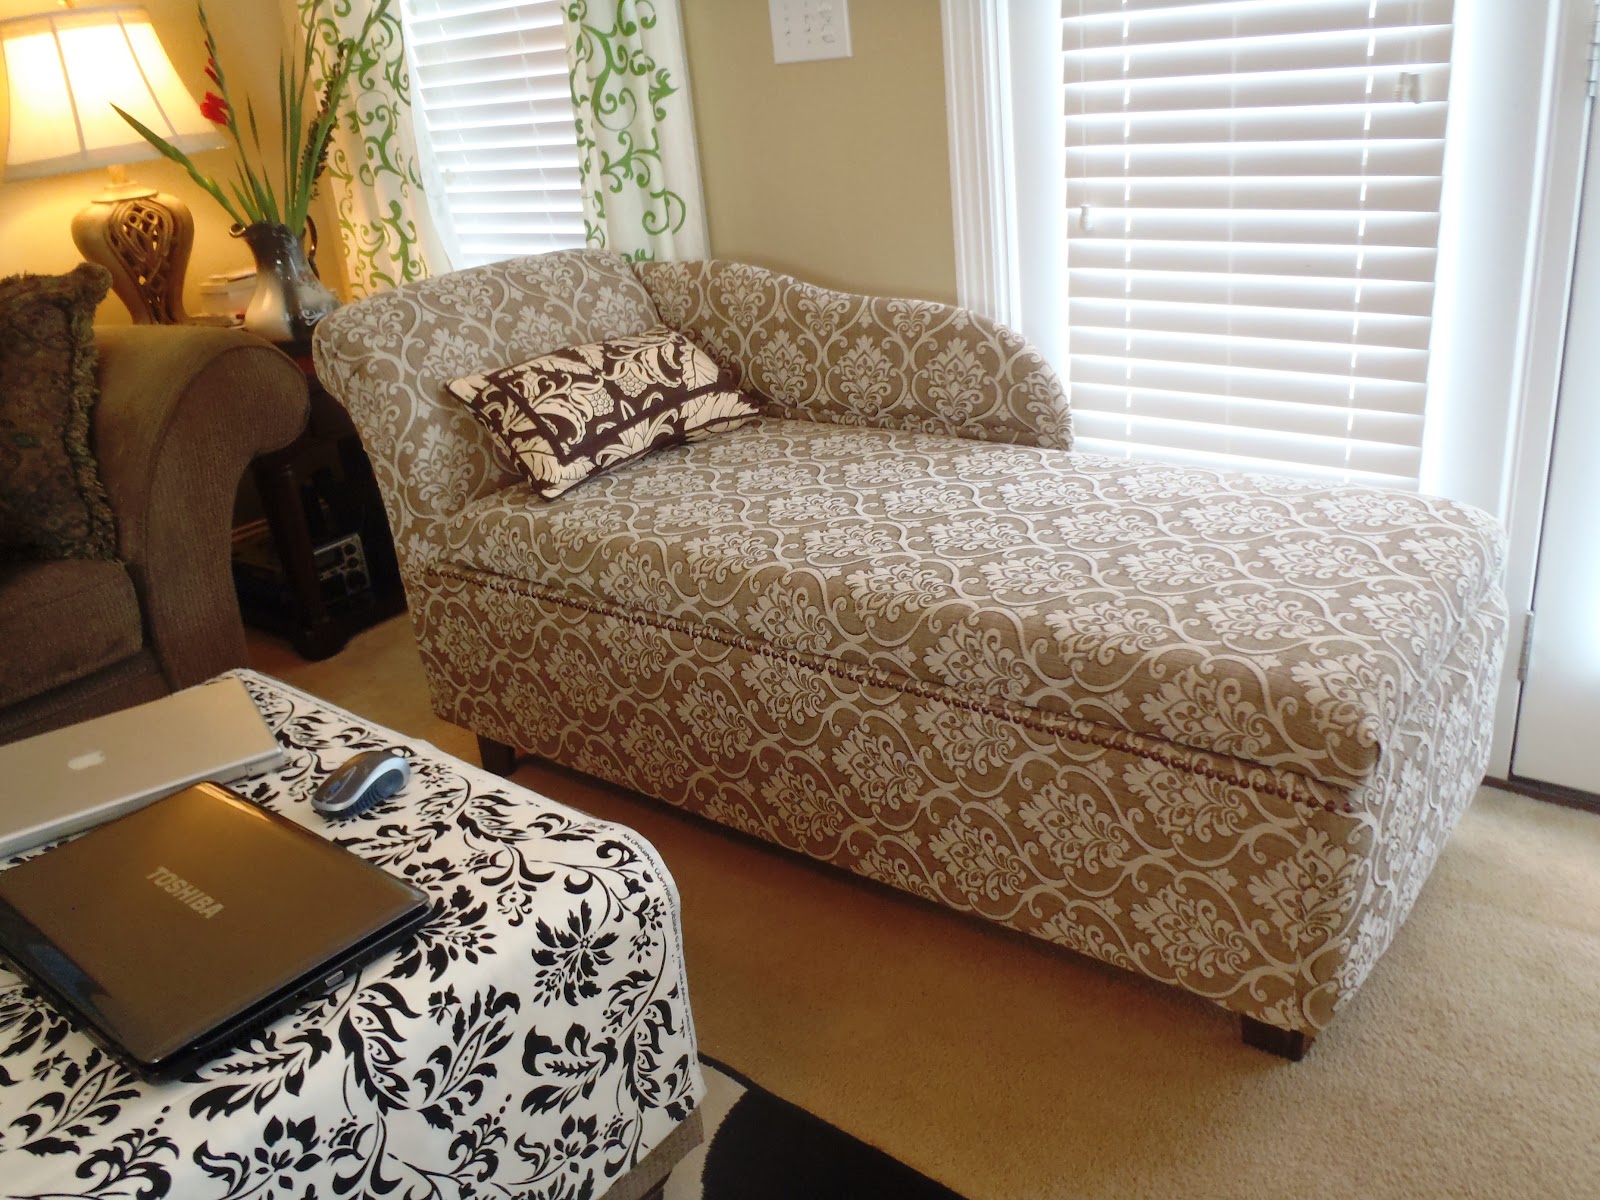
It took me a while to decide which project to build next. I'm glad I did this chaise lounge to replace the overstuffed chair Uma has been using. It is very comfortable and no more crick in my neck from tilting my head to the side to watch tv.
I never had a chaise lounge ever before but I thought this would add not only furniture but also a decor and hidden storage for throws and what not.


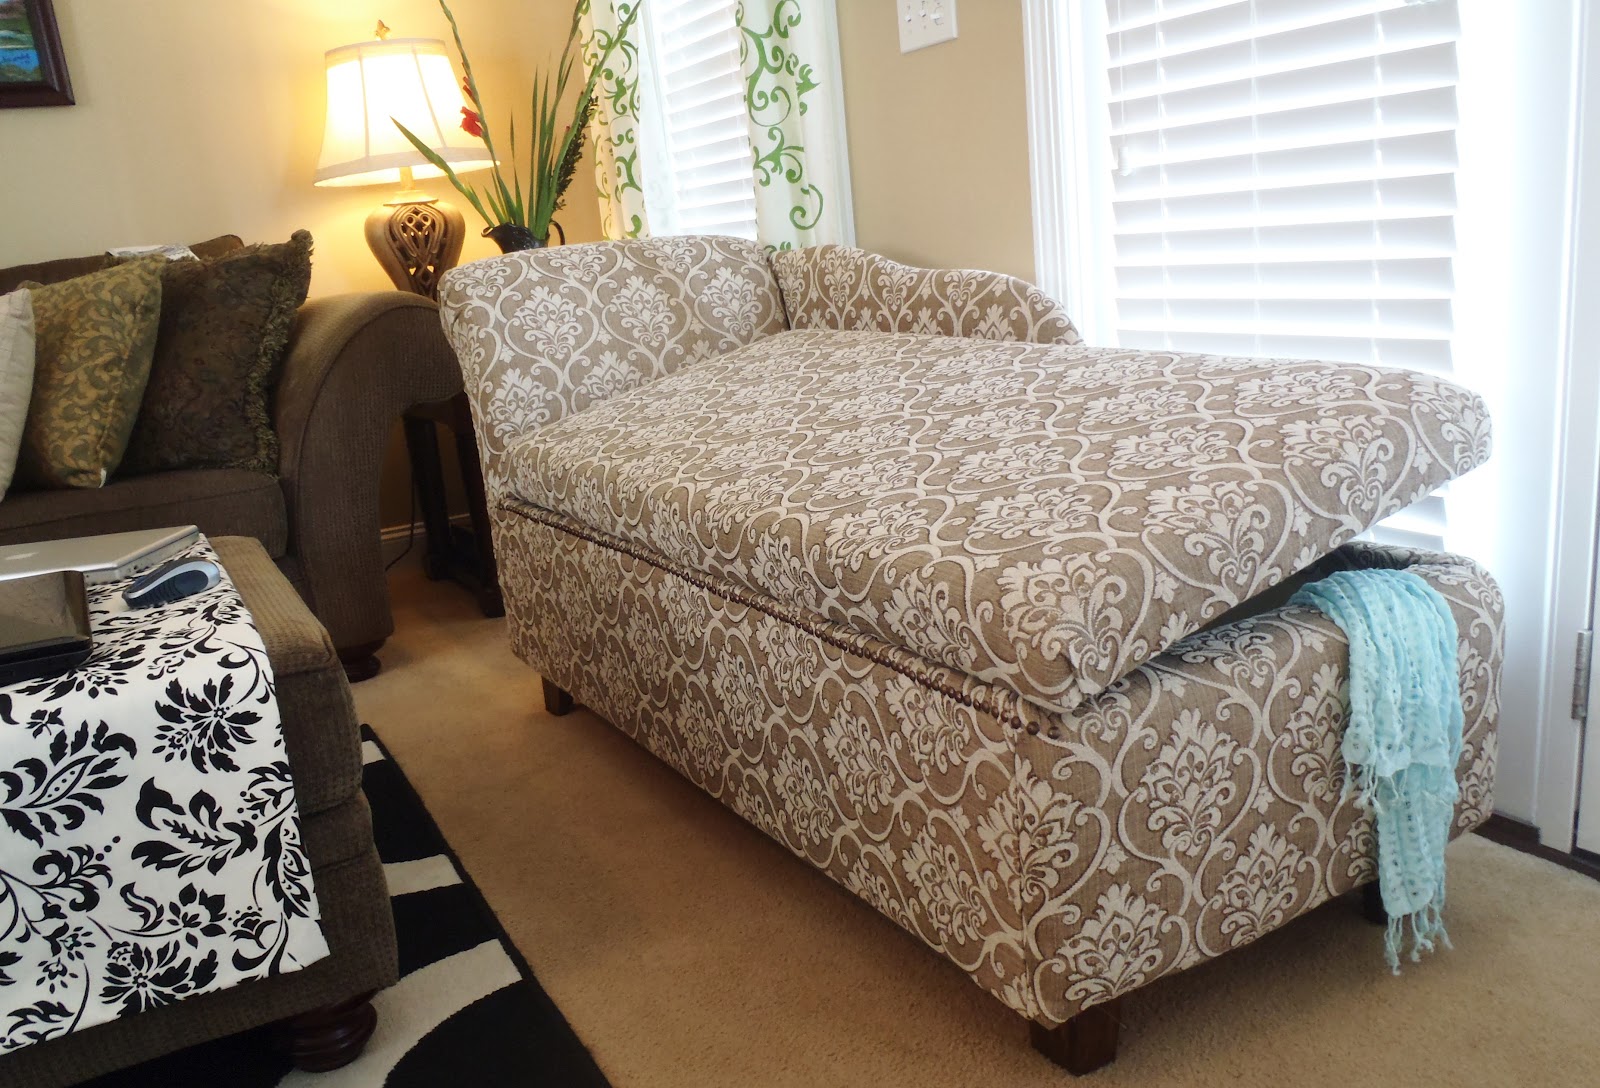
I use it to store extra throws, blanket and extra sewing fabrics.
How I build this chaise lounge:

Cut lists:


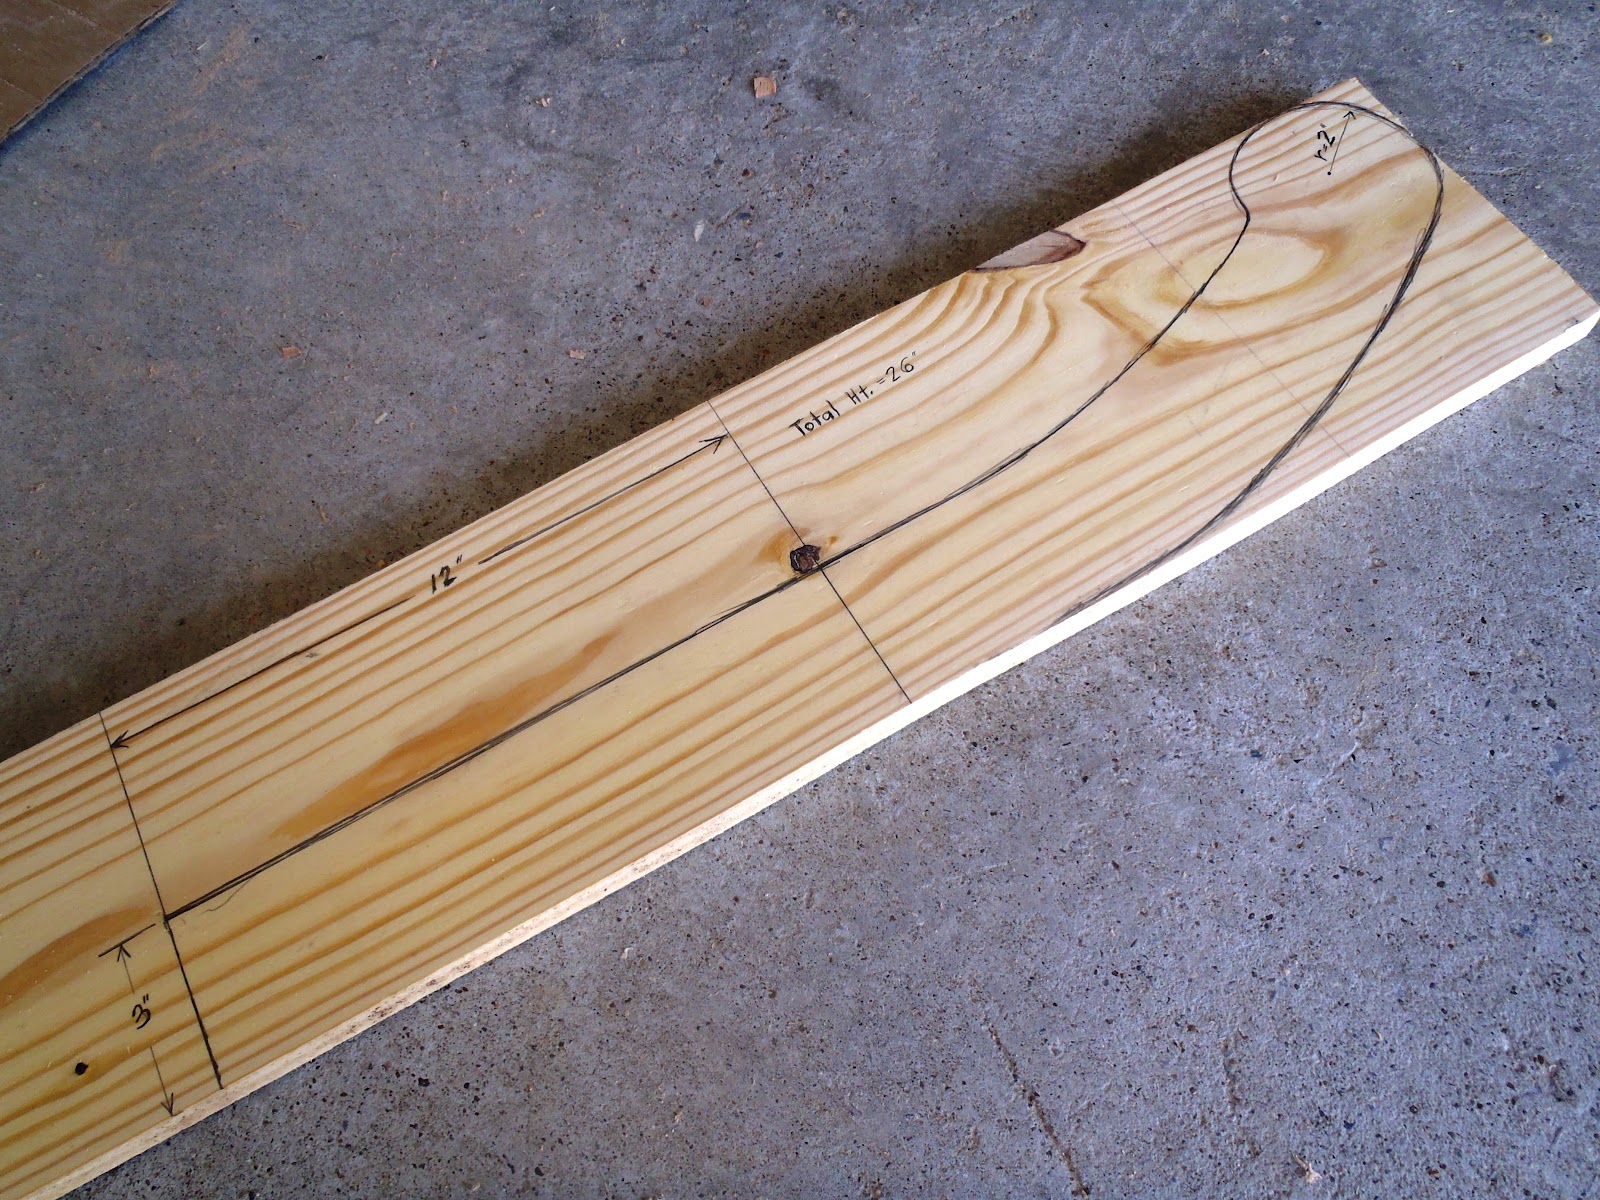
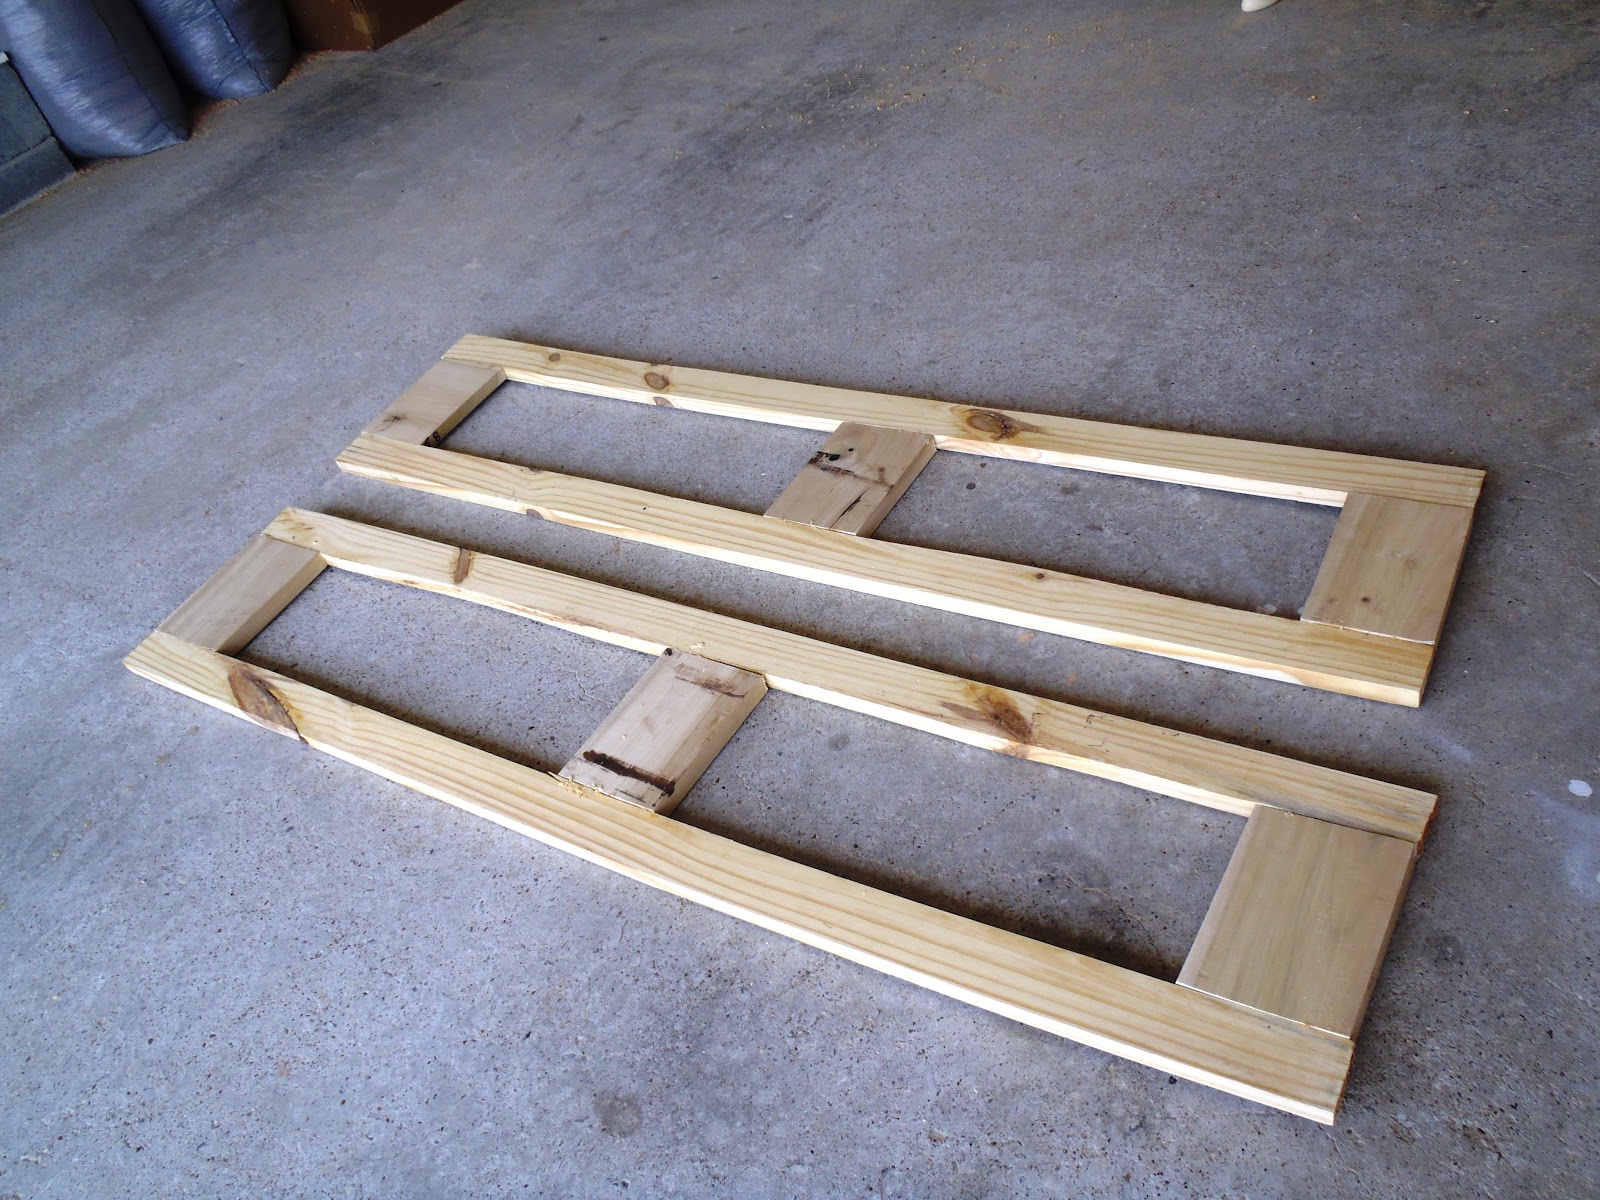
(2) 26 X 7 X 3/4” back rest side parts, cut as shown below
(16) 22 ½  X 2 X 3/4” back rest horizontal supports and box lower support
(2) 21 ½ X 8 ½ X ½” plywood, box shorter side cover
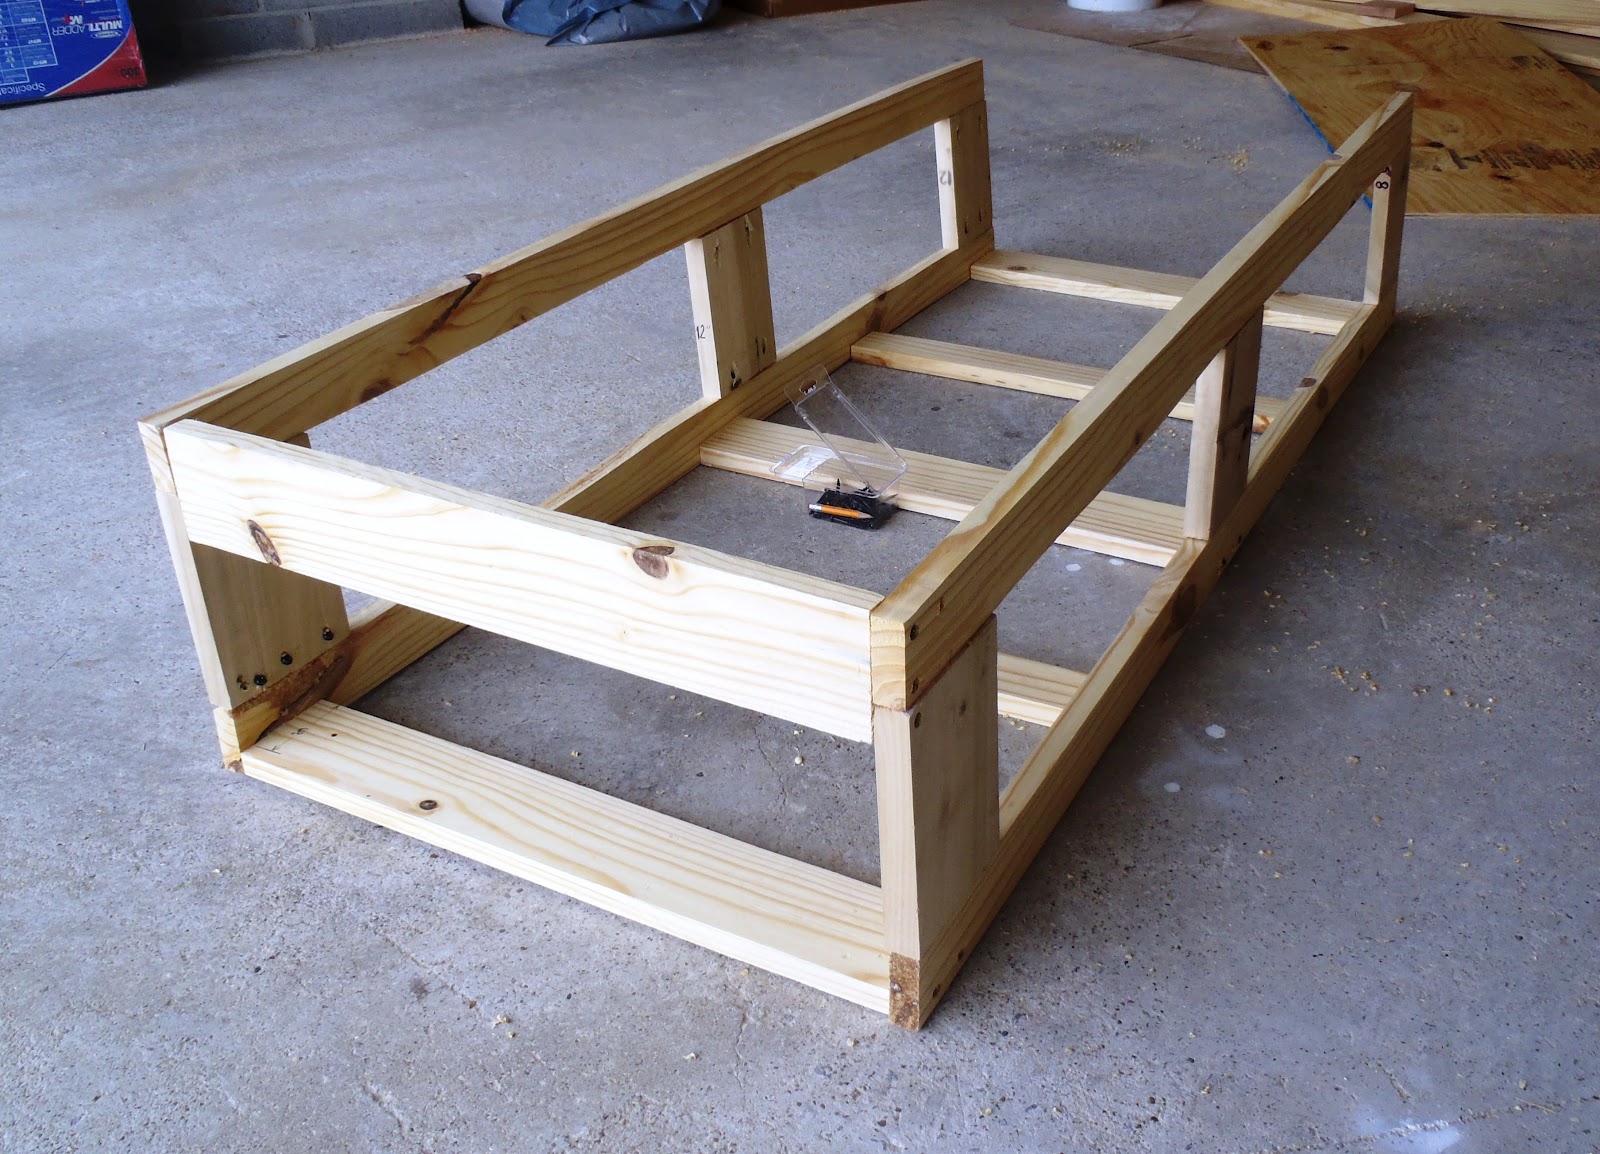
(4) 57 X 2 ½ X ¾”  box long side support
(6) 5 X 4 X ¾” box vertical long side support
(2) 24 X 3 X ¾” box horizontal short side support
(2) 59 1/4 X 9 3/4 X ½” plywood, box longer side cover
(1) 59 ½ X 21 ½ X ½” plywood, box bottom cover
(2) 57 3/4 X 1 1/2 X  1” seat part long side support (I used red oak)
(4) 21  X 1 1/2 X  1” seat part short support
(1) 57 ¾ X 23 ½  plywood (if using plywood for the seat support cover instead of S-spring or webbing)
(1) any size for arm support
(8) 4 X 3 X 3/4" legs, tapered or (4) store bought legs

Material lists: 

6 yards patterned fabric
2 yards non patterned basic fabric ( for bottom and inside seat box cover)
1 1/2 pcs. 24 X 72 X 3or4 in. good quality foam
glue/spray glue
staple wire
4 box furniture tacks
paint
2 hinges
pocket hole screws
corner braces
mending plates
S-spring or no sag spring or webbing
batting

disclaimer: plans and parts are an estimate and your requirements may vary

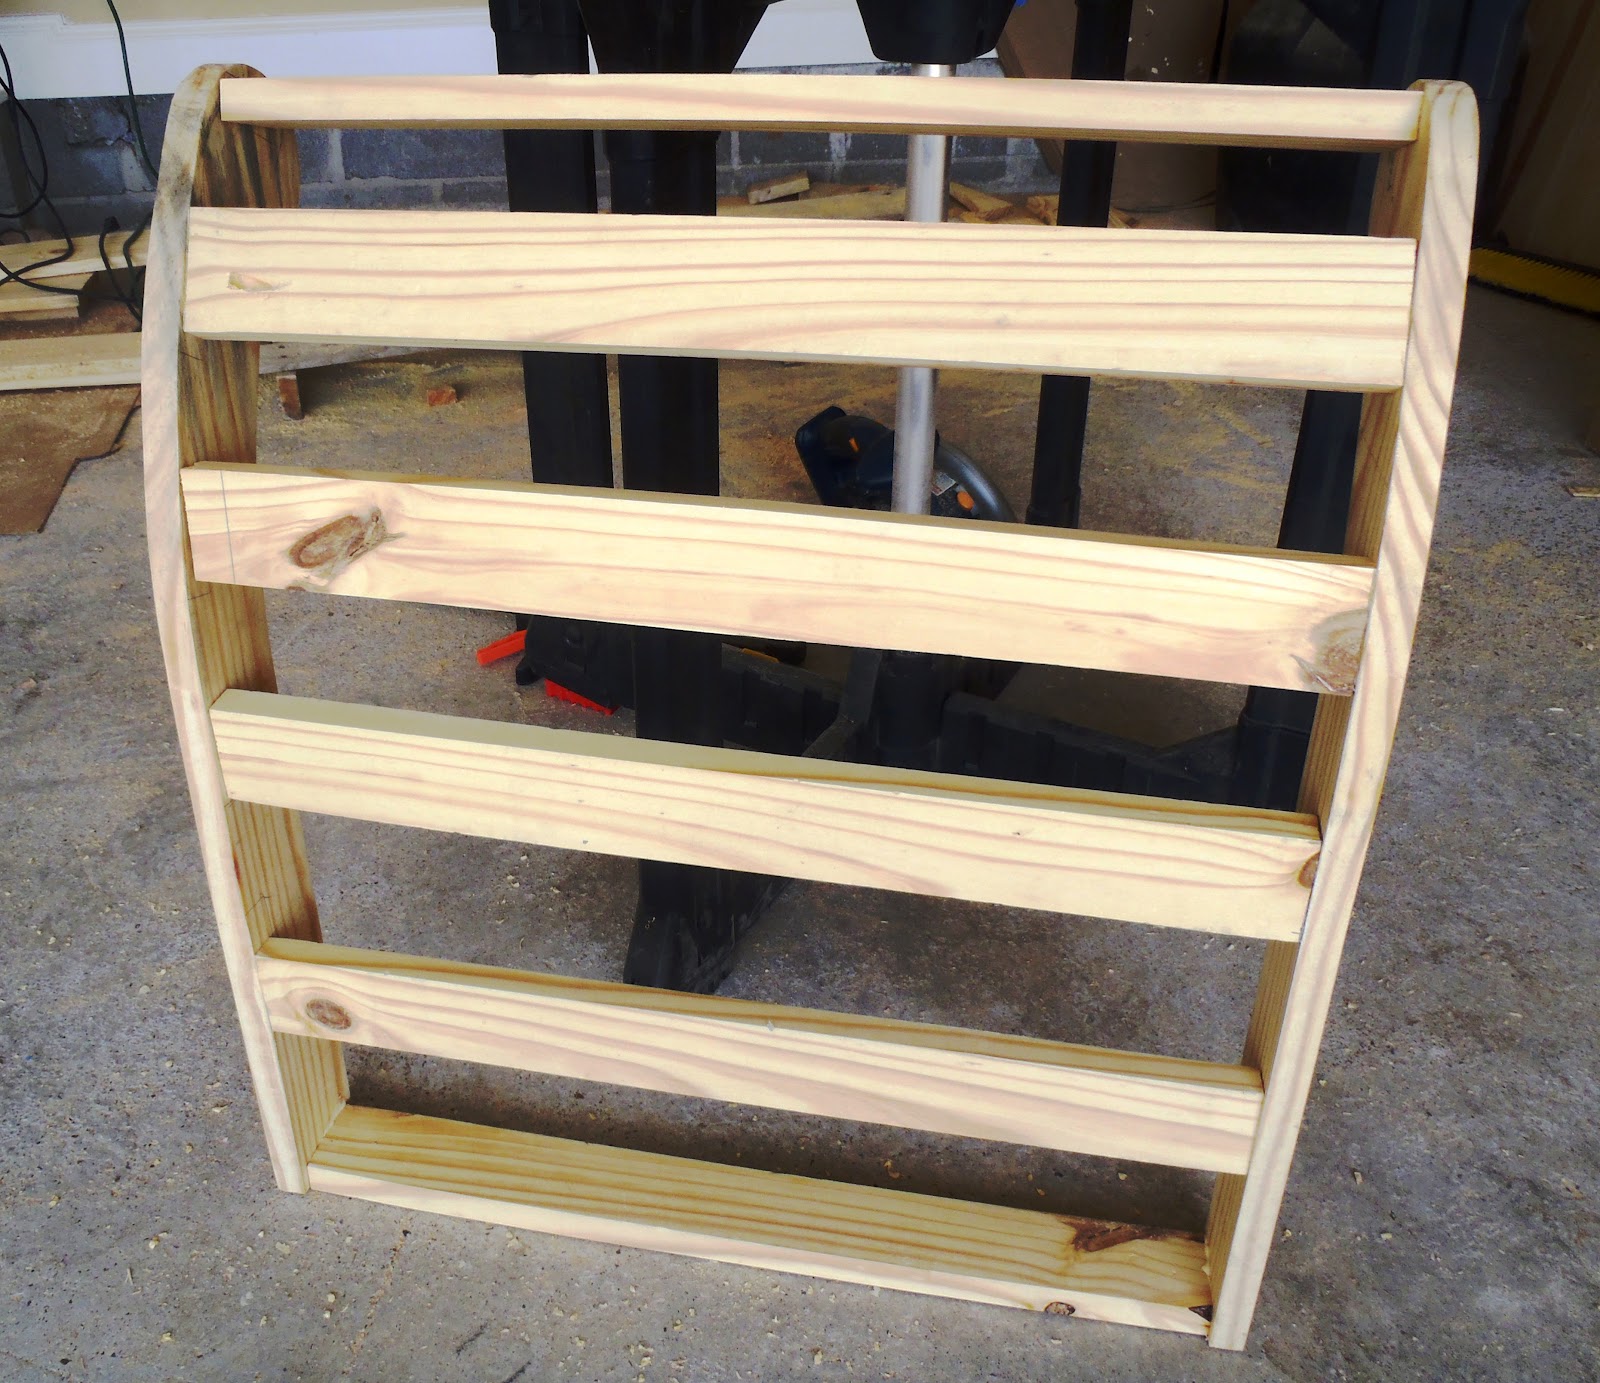
Make the curved backrest piece. I wrote the measurement on the wood, click to enlarge if not clear. I freehand drew the curve side but made sure to maintain the 3 " width except for the round part with radius of  2".

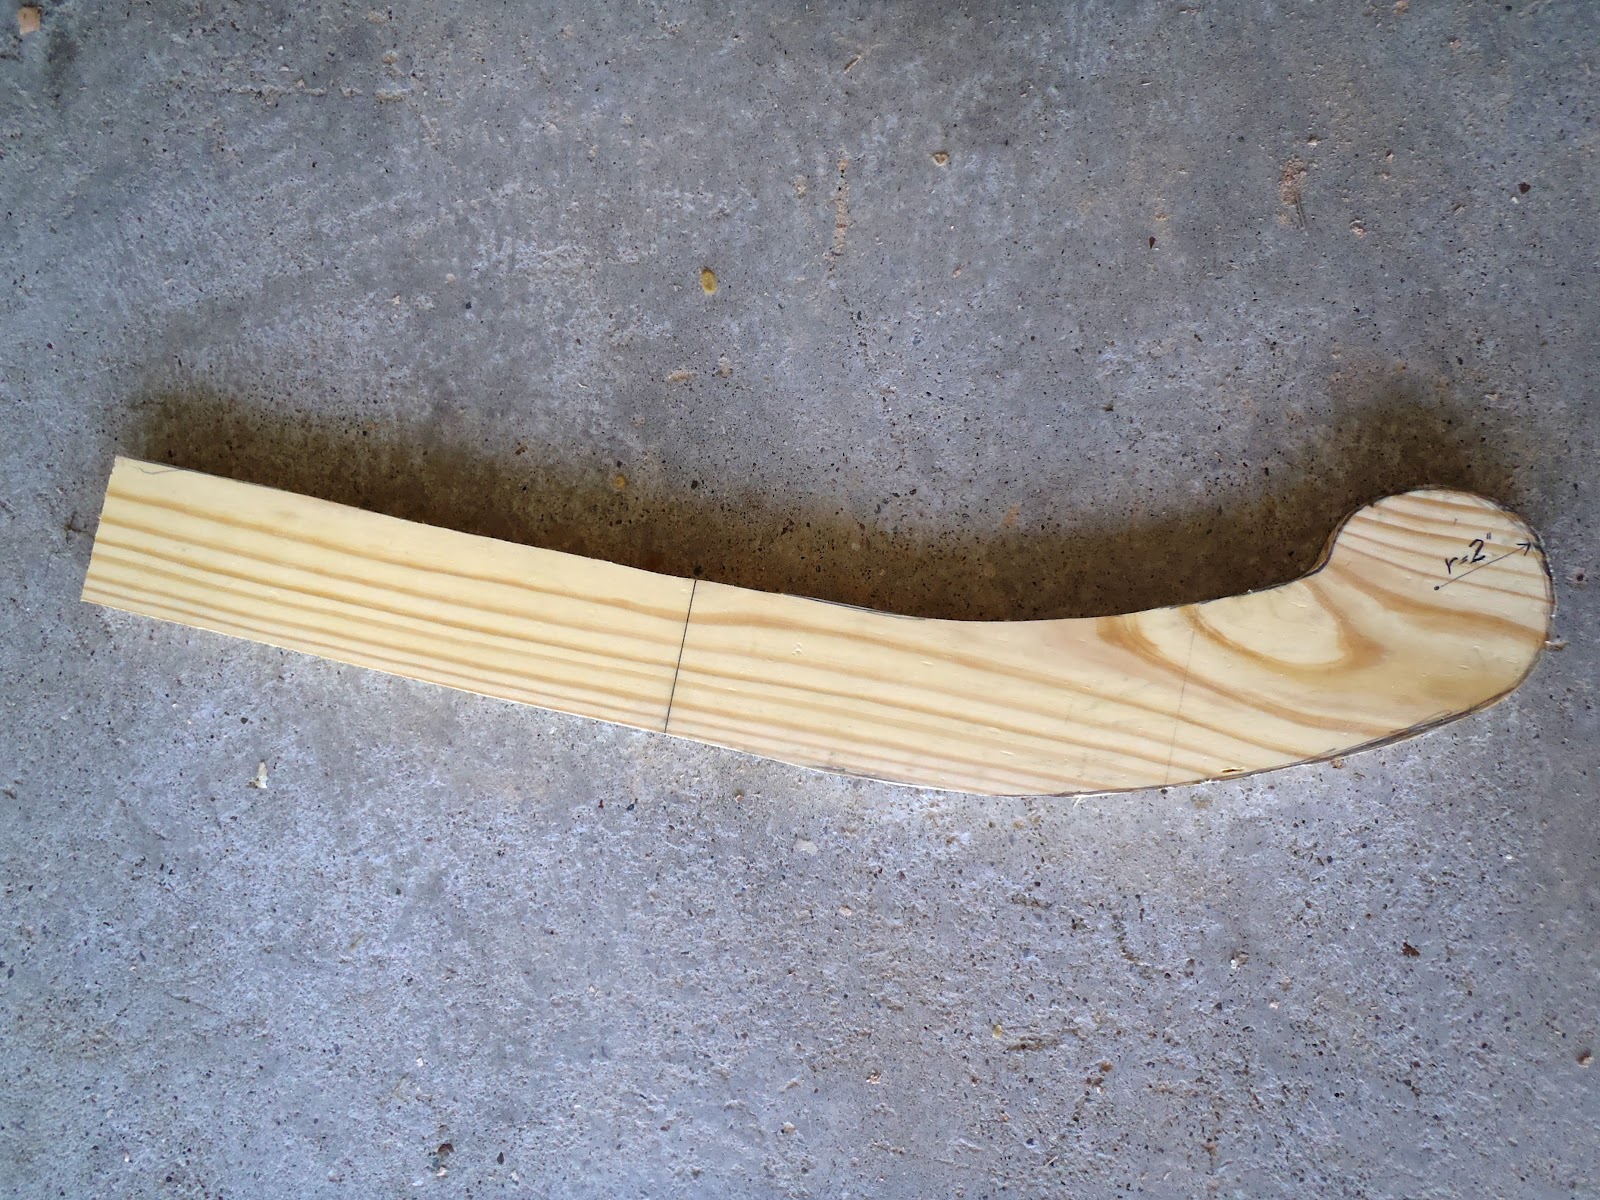
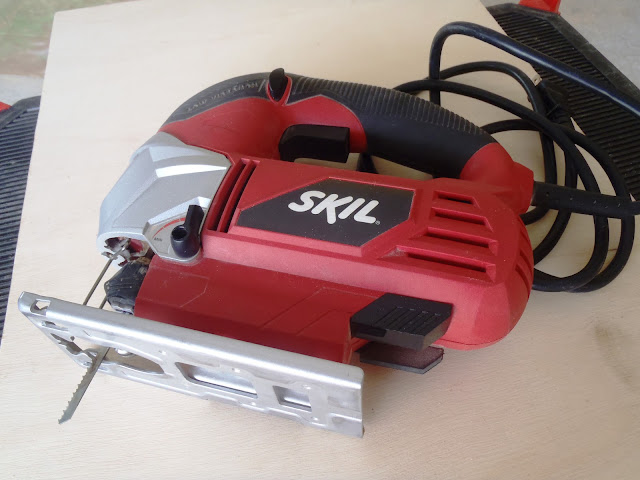
Jigsaw cut the board.
 Use the piece and trace to make a pair but make sure to cut this one inside the line.
 Cut the parts needed to make the box frame (from Cut list)
 Make the backrest.
 Start making the storage box frame by building the two longer sides.
 Attach the bottom frame part.
 ..and one side
 Cut and attach plywood pieces to complete the box (almost complete box). Scroll down to the frame dimensions to see the plywood measurements.
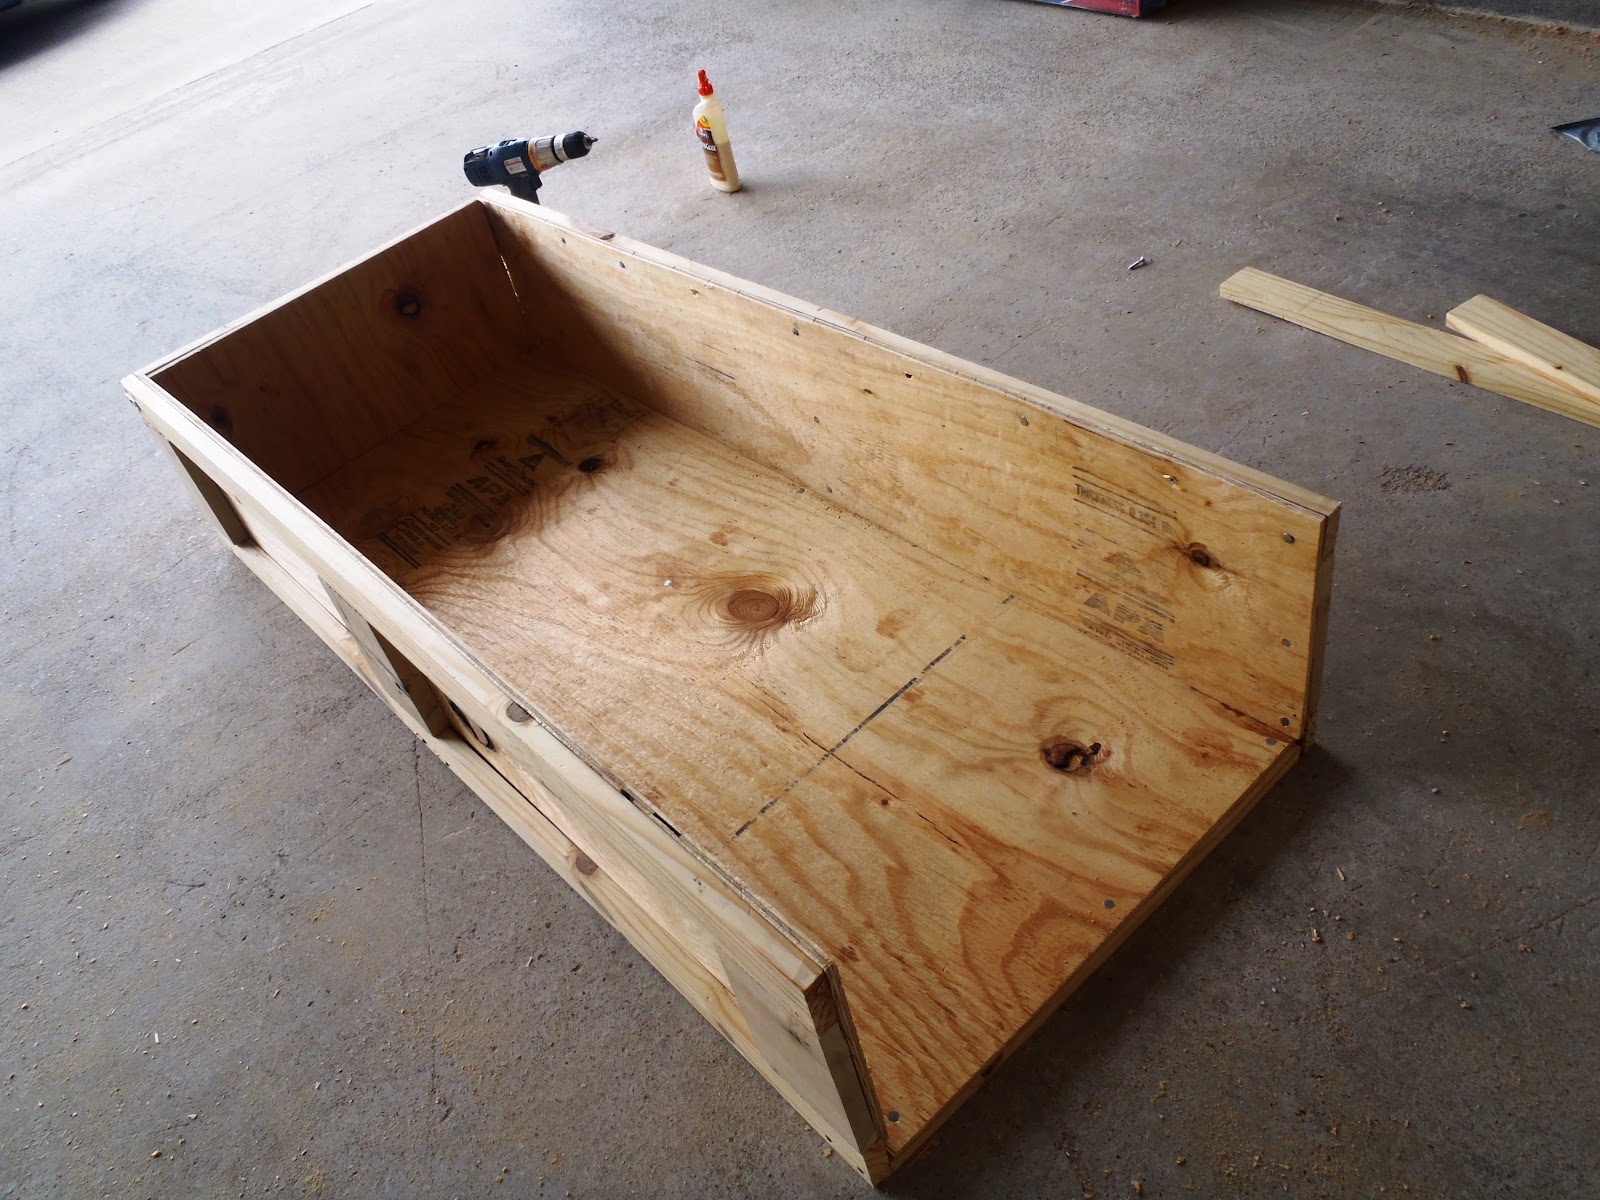
plywood is 3/4", 1/2" is okay
 Use this corner bracket(size on the plastic) to reinforce the corners.

 Use mending braces (size also on the plastic) to attach the backrest frame on the box.


Use higher grade plywood if desired
 I painted the box to seal the wood.
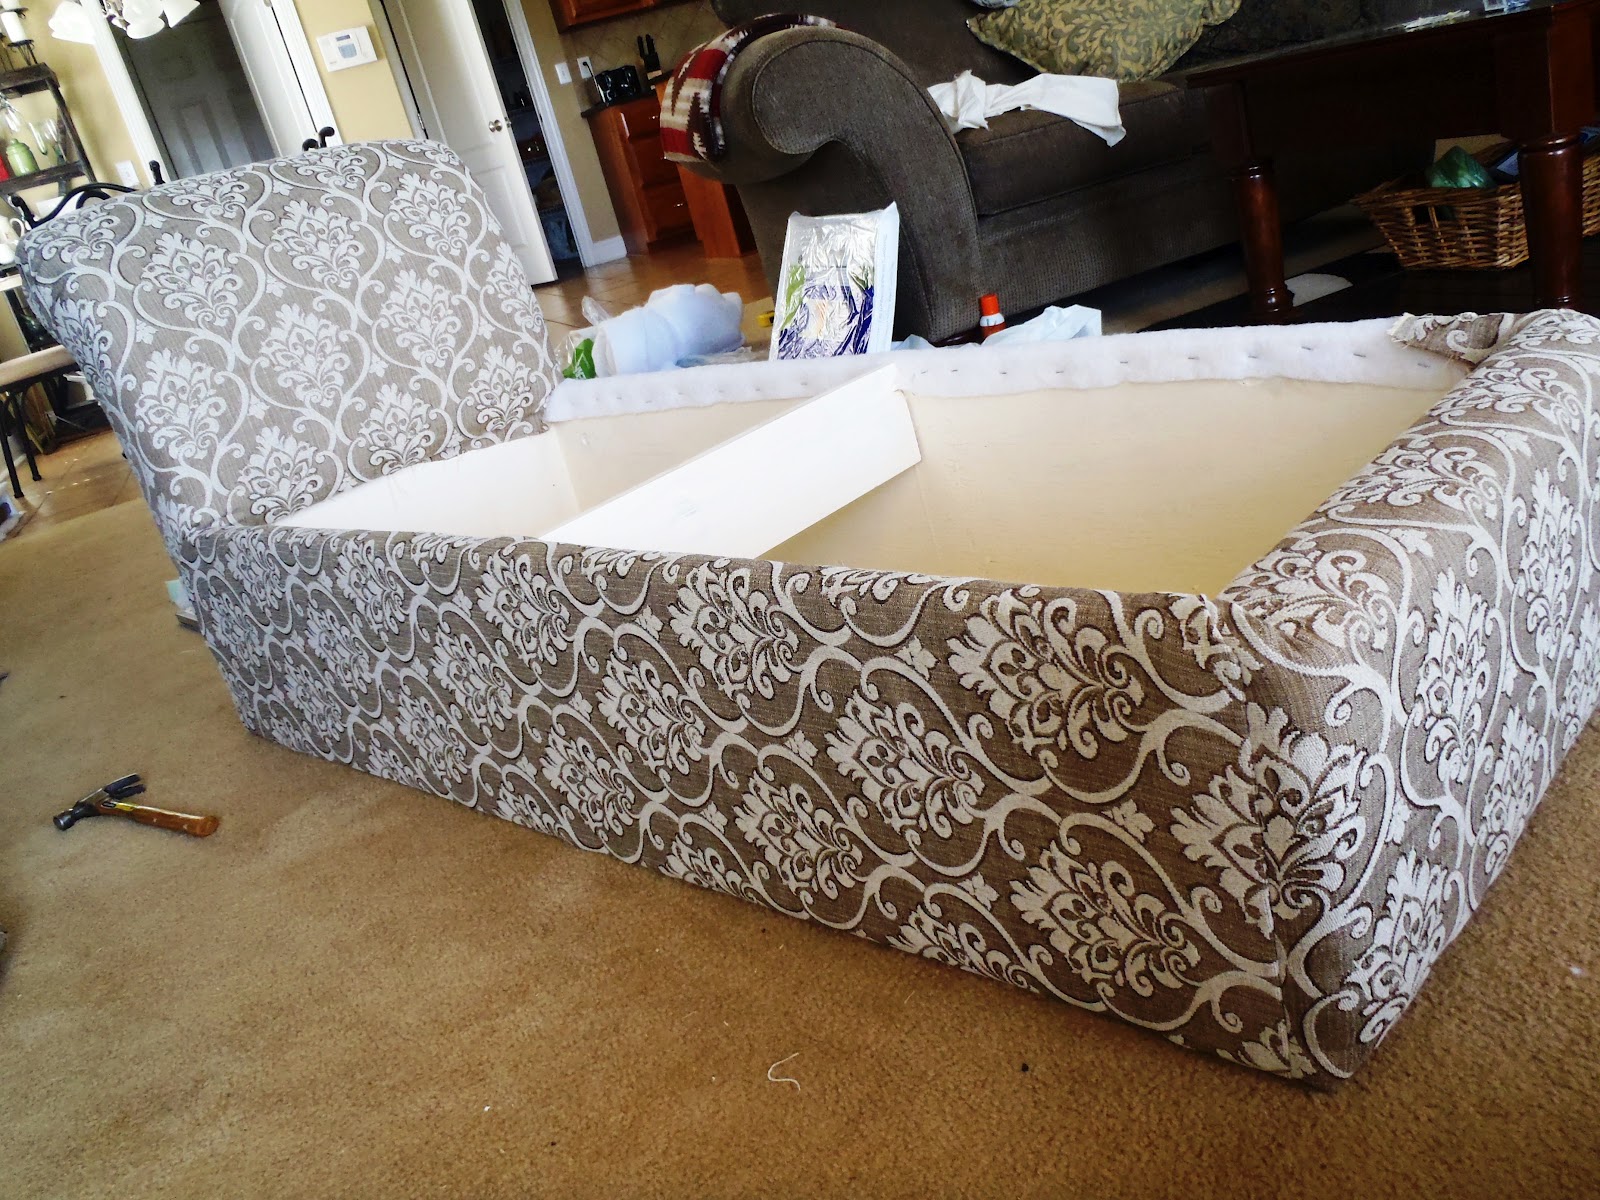
Notice I added a middle support.
I'll slowly work on completing the plan but for now here's the frame dimensions.


Make the side/arm rest (can make it longer if desired). For sturdier arm rest, wood glue two 3/4" plywood or buy the thickest plywood.
again, I hand drew this part, can design in anyway you like
 Jigsaw cut it. Paint.
While waiting for the paint to dry, make the legs by gluing two pieces of tapered 4 X 3" red oak(or any hardwood). Then sand, stain and let it dry.
 Start making the storage cover frame (seat part). I used red oak (very strong wood) so I don't need to use a thicker and wider board.
 Use corner brace and glue to attach the corners. Every wood to wood joint should ALWAYS use glue.
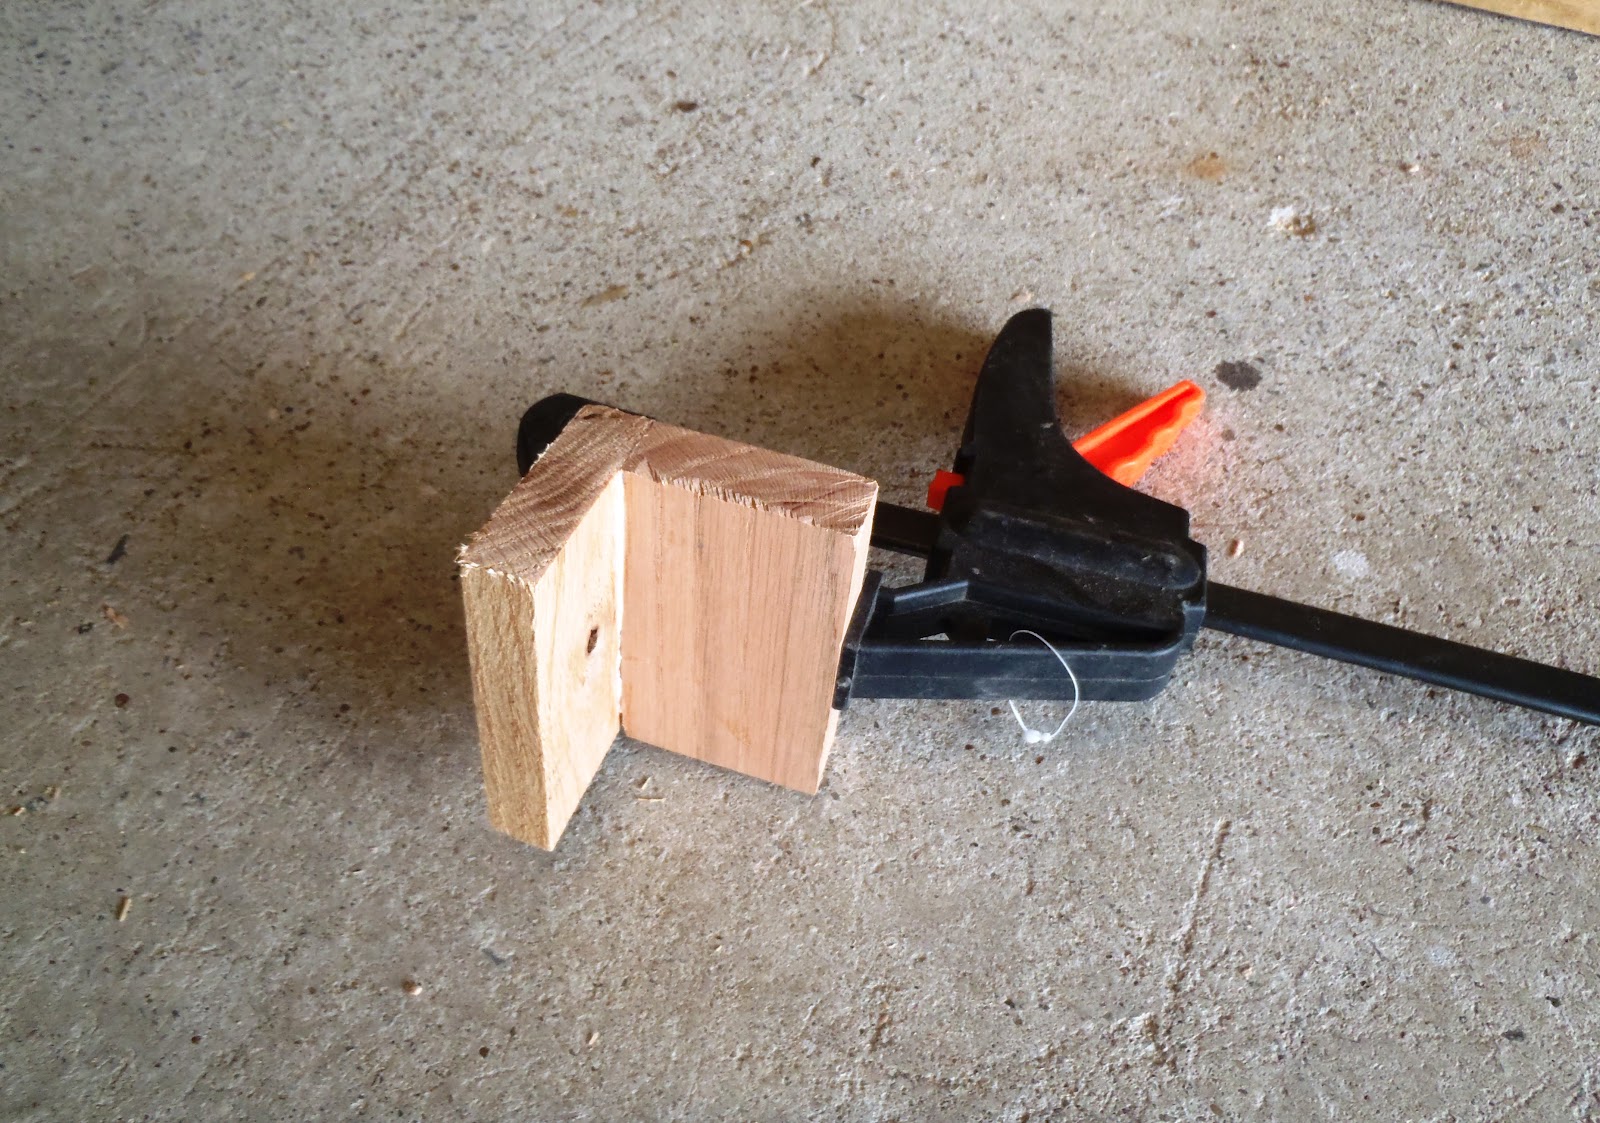
if using screws and glue, add piece of wood corner brace to prevent wiggling
 Add the middle part only this time lay the piece down, you'll see why. I suggest adding more for stronger frame.
 I used left over nylon webbing from my dining chairs. I recommend no sag S spring or plywood. If using plywood, use 3 or 4" foam. Chaise is for me so I know using the left over nylon webbing is okay and can hold my weight.
Laying down the middle support gives clearance for the webbing.
can make the webbing tighter/denser for stronger seat
 Measure and cut the foam.
Glue the foam. If I had burlap on hand I would cover the frame first before attaching the foam.
Add the batting using adhesive glue and staple the sides.
 And the fabric, make sure the pattern of fabric are proportionately laid out.
 Add the foam on the backrest and the batting

 Cover the backrest and short front side of the box with fabric keeping in mind the pattern lay out.

Backrest detail.
 Cover the front long side of the box. Keep in mind to match the pattern of the seat and the storage box.
 Attach the hinges. Poke holes on fabric to screw on first so it won't pull the fabric when driving the screws in.
 Lay box on one side and attach the seat part.
 Glue one inch foam and batting then upholster the side part or arm rest. Then upholster the rest of the side and the bottom using non patterned fabric.
 Add optional decorative tacks.
pattern of top and bottom should be carefully aligned and not staggered
 Put a small piece of fabric at the back of the hinge before tightening the screws to hide the hinges
see the hinge?
backrest side detail

back detail
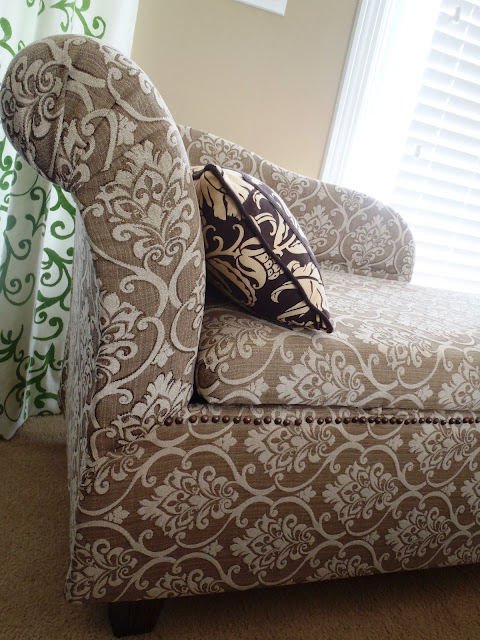
 And finally, attach the clear coated legs then you got your comfortable piece of furniture that will last.
very comfortable lounging chair :) (run out of decorative tacks to go all around the front)
Pin It

Monday, May 14, 2012

My basic carpentry tools

This post is a response to reader's request. I am not a professional furniture builder and my tools are the very basic kind that most people have in their garage. Most of my tools are the cheap kind because at that time I only intend to use it for one or two furniture not knowing I will get hooked :) I was told by some pros that Dewalt brand tools are the best tools to have.

Basic Carpentry Tool Lists:

1. Circular Saw
This Ryobi circular saw came with the tool kit that my husband bought for the rip saw to cut the fender of his Cherokee jeep 7 years ago (so old, I just realized!). It was still unused when I first used it :)

Most used tool in all my tools. I'm woodworking on a budget but for folks that are not, table saw is an advanced tool to have. Although if I were to buy new circular saw, I would get the corded one since I don't like having to wait for the battery to charge. Even with two alternating battery, circular saw used up energy so fast (at least mine does) that I have to wait especially when cutting hardwoods. Also, I read somewhere that corded tools last longer than cordless tools.
Yes I did bought one! and this is very powerful but heavy too.
  2. Power Drill

Another most used tool.
-For cordless drills, power is measured in battery voltage. Higher voltage means more torque-spinning strength to overcome resistance.
-Buy a drill based on how you will use it. It doesn't make sense to pay $200 for a tool you'll use only to hang pictures. Nor is it a good idea to pay $50 for a drill only to have the motor burn out after a few days of heavy work. -(from This Old House)-

3. Jigsaw

My favorite tool when it comes to incorporating patterns on my furniture as it allows me to cut curved and circular patterns.

 4. Plane
I use this plane to even surface of two joint members of furniture. I buy most of my lumbers from a hobbyist who mills his own wood and sells some for at least half the price of wood sometimes rough. Planing some of my own lumber saves me even more money.

5. Sander

I like this mouse sander because it allows me to sand small corners and curves of patterns.

6. Miter Box Saw


I use a lot of moulding and build lightweight frames (mirror frame, canvas frames, crafts, etc)  and this less than $10 bucks tool lets me cut edges in different angles.

7. My Other Tools

 Clamps of different sizes. I got pipe clamps that my father-in-law gave that's not on this photo.
And of course, the hammer. Rubber mallet and chisels are also under my must-have list.
 Caulk gun. I use this sometimes to fill up holes on project that will be painted. Wood filler for projects that will be stained.
 Another must-haves for carpentry: level, carpenter's square and tape measure.


Kreg jig used to make pocket holes. This single hole is worth under $20 bucks, can buy the two or three holes.
Nail set  used to drive the head of a nail flush with or below a surface of the wood.

 And of course, your pouch! My pouch don't go to my waist but to a bucket, tools are heavy, you know! :)

I hope I didn't left out any tools.

Maybe when I get my workshop and with the savings from making my own furniture, I will buy better and more advance tools, but for now, these tools will do fine to build couple more sturdy furniture :) Pin It